Getting Started
Pre-requisites
- Amazon Web Services Account
- Amazon EC2 Console Account
Free Trial
EMS offers a 30-day free trial use for first-time customers.

Note: There will be no software changes but the AWS infrastructure charges still apply.
Deployment
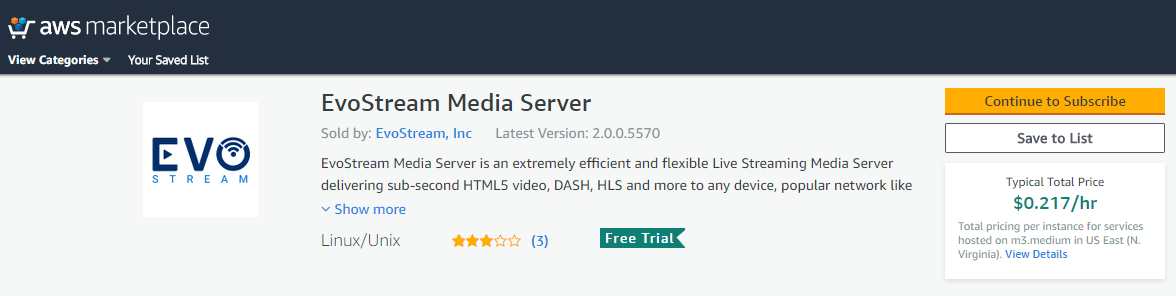
To get started with the EvoStream Media Server (EMS) on Amazon EC2 you will first need to purchase an EMS instance through the Amazon Web Services website.
-
Search for the EvoStream Media Server in the AWS marketplace, or simply follow this link
-
Click Continue to Subscribe and Sign in your AWS account
-
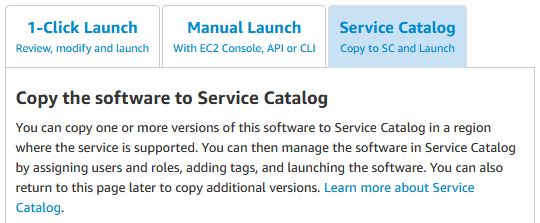
Launch EMS using 1-Click Launch or Manual Launch or using the Service Catalog
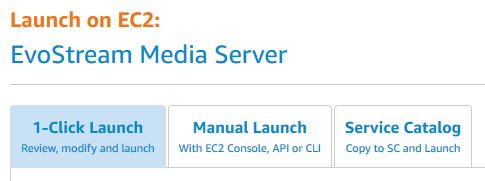
1-Click Launch
How To:
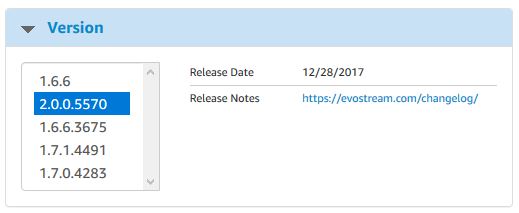
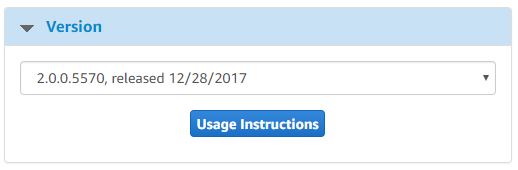
A. Select the Version of the EMS to be used
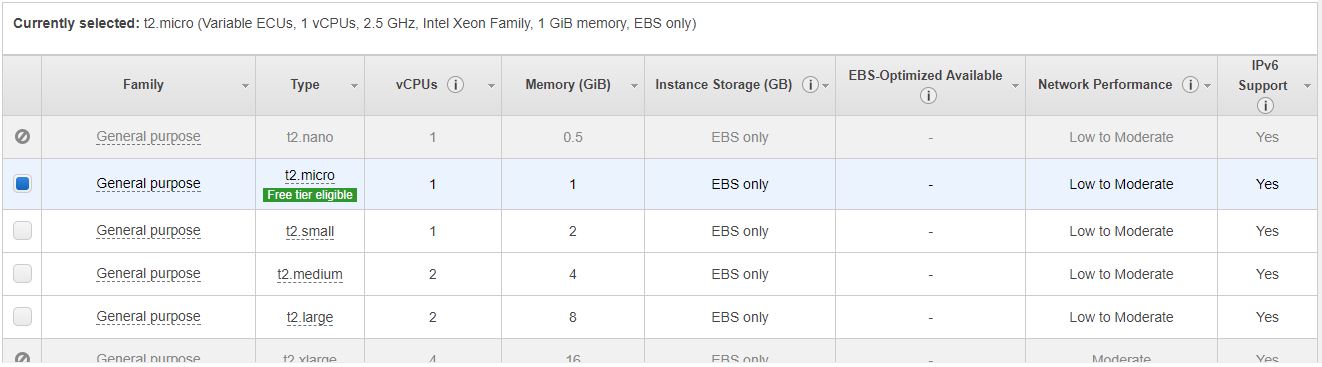
B. Select the Region and EC2 Instance Type (size of computer) for your deployment
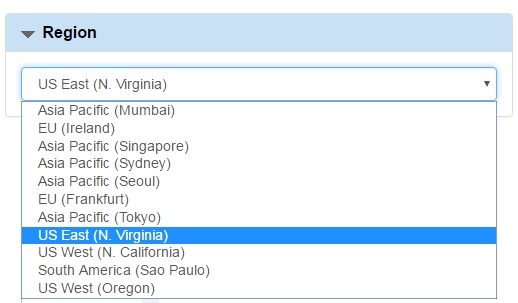
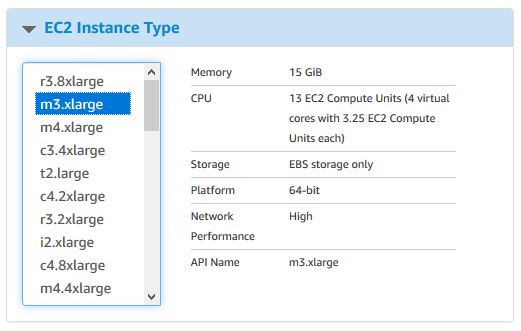
Note: The EMS can be run on very small computers, including Micro EC2 instances. The size of the instance should be a direct reflection of how much sustained traffic you expect to be hosting. In almost all scenarios you will run out of bandwidth prior to exhausting the CPU or memory limits of the virtual machine. Take note that availability of sizes depends on the Region.
C. Select or create the VPC Settings to be used.
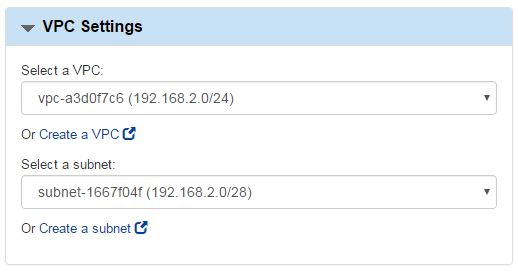
Note: See Amazon documentation on VPC for more information.
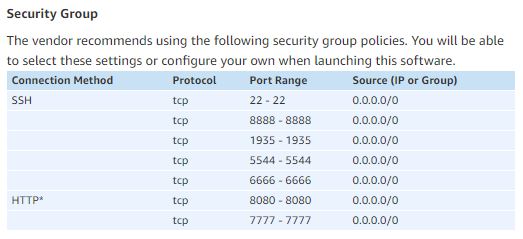
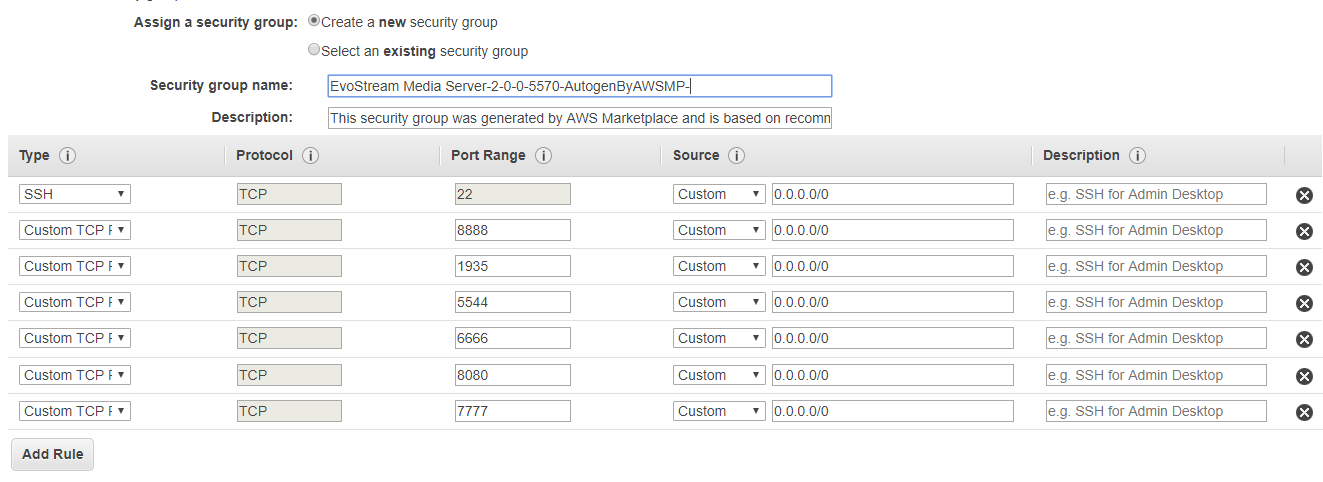
D. Choose a Security Group
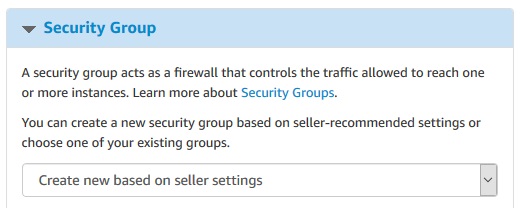
Create new based on seller settings - a new security group will be generated by AWS Marketplace. It is based on recommended settings of EMS
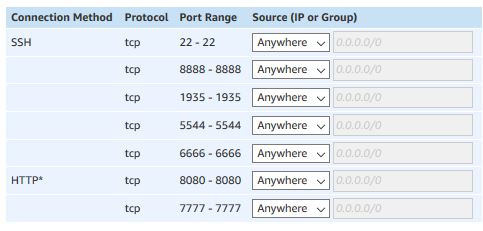
The security group has been designed to provide outside access to all ports used for streaming. The ports are defined and used as follows:
| Port | Use |
|---|---|
| 22 | SSH |
| 1112 | inboundJsonCli |
| 1113 | inboundBinVariant |
| 1222 | inboundAsciiCli |
| 1935 | inboundRtmp |
| 1936 | inboundRtmp (clustering) |
| 3389 | RDP |
| 4000 | webservicesPort |
| 4100 | webuiPort |
| 4443 | inboundRtmps (optional) |
| 5000 | Reserved |
| 5544 | inboundRtsp |
| 5985 | Reserved |
| 6666 | inboundLiveFlv |
| 7777 | inboundHttpJsonCli |
| 8100 | inboundJsonMeta |
| 8210 | wsJsonMeta |
| 8410 | inboundWSFMP4 |
| 8420 | inboundWSSFMP4 |
| 8433 | wssJsonMeta |
| 8888 | webserver |
| 9898 | inboundUdTps |
| 9998 | inboundTcpTs |
| 9999 | inboundHttpFmp4 |
These Security Settings can be changed but it will impact the accessibility of the streams on your server.
Note: See Amazon documentation on Security Group for more information.
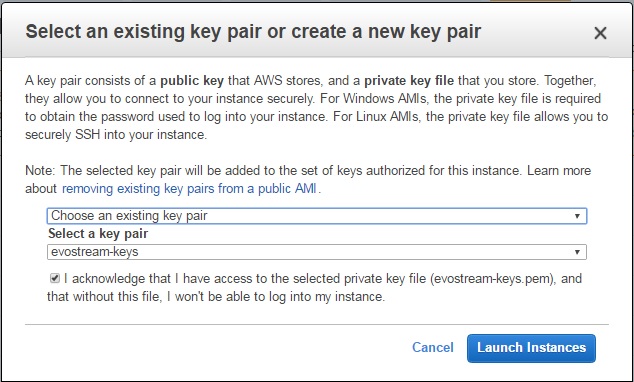
E. Choose or create a Key Pair
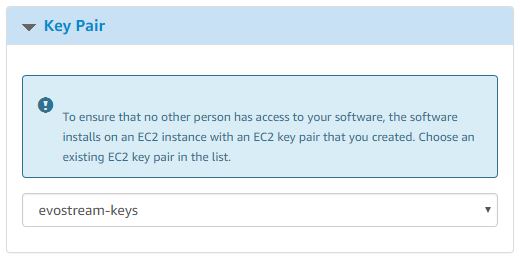
Either choose an existing key pair for instance access or create a new one for your account. If you choose an existing pair you MUST have the .pem file already downloaded from that pair. Amazon does not allow you to download key pairs a second time.
Note: See Amazon documentation on Key Pairs for more information.
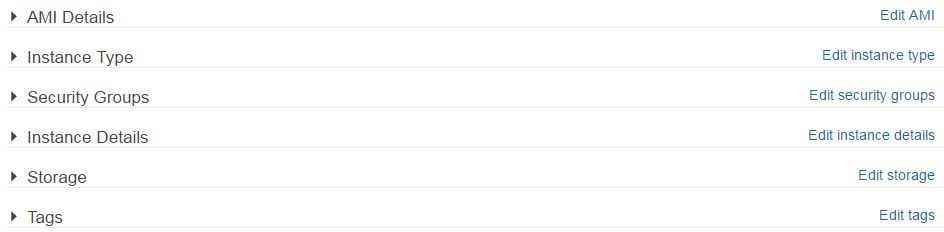
F. Review the settings created, click on Launch with 1-Click

Manual Launch
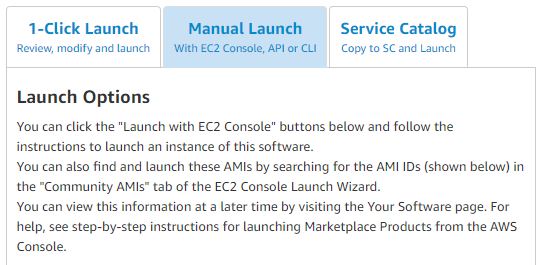
How To:
Step 1: Choose AMI
A. Select the EMS version to be used
B. Click the Launch with EC2 Console of the chosen Region
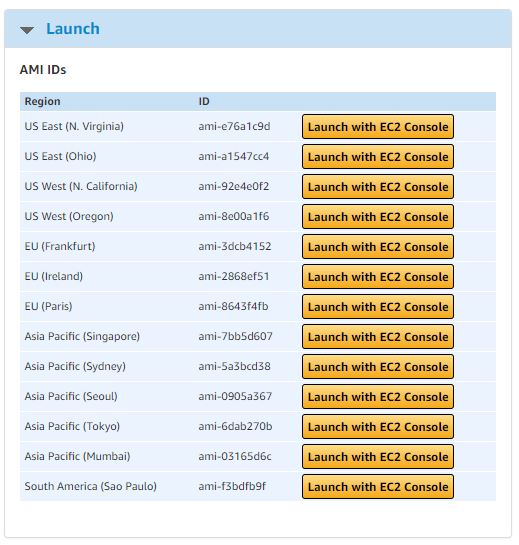
Note: The security group used in this is the default settings
Step 2: Choose Instance Type
You will now be redirected to the Launch Instance Wizard in Step 2. You may launch or with continue the configuration of the image.
Select the Instance Type to be used. You may Review and Launch the AMI or click Next to continue with the configuration
Step 3: Configure Instance Details
Configure the instance to suit your requirements. You may Review and Launch the AMI or click Next to continue with the configuration

Step 4: Add Storage
Add New Volume or you may Review and Launch the AMI or click Next to continue with the configuration

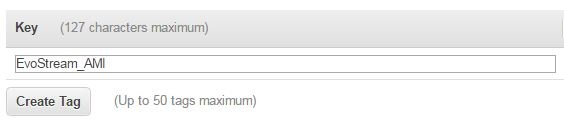
Add a tag for the instance or you may Review and Launch the AMI or click Next to continue with the configuration
Create or select the security group to be used then click Review and Launch
Step 7: Review and Launch
Review the configuration made, click Launch or go back to modify the changes
A window for the keys will prompt. Select an existing key pair or create or proceed without the key pair to be used. Click Launch instances
Note: You will find the instance created in Instances under Instances Menu.
Service Catalog
How To:
Note: Should use an administrator account
Step 1: Choose and Copy AMI
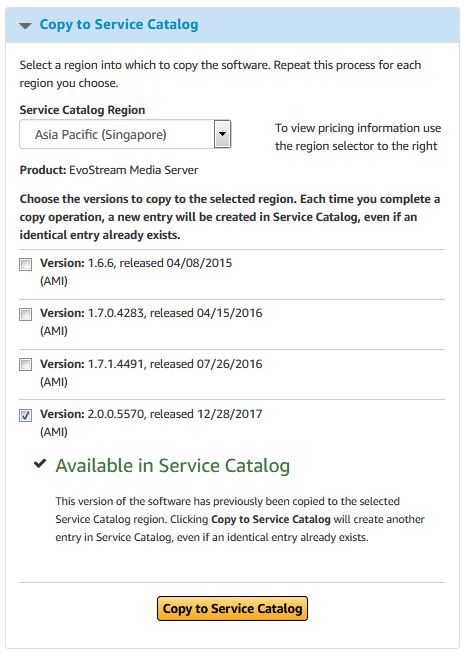
A. Select the EMS version to be used
B. Select Service Catalog Region and tick on the Version to be copied to the selected region. Click on Copy to Service Catalog.
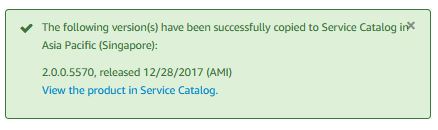
This will show upon successful copy:
Step 2: Create Portfolio
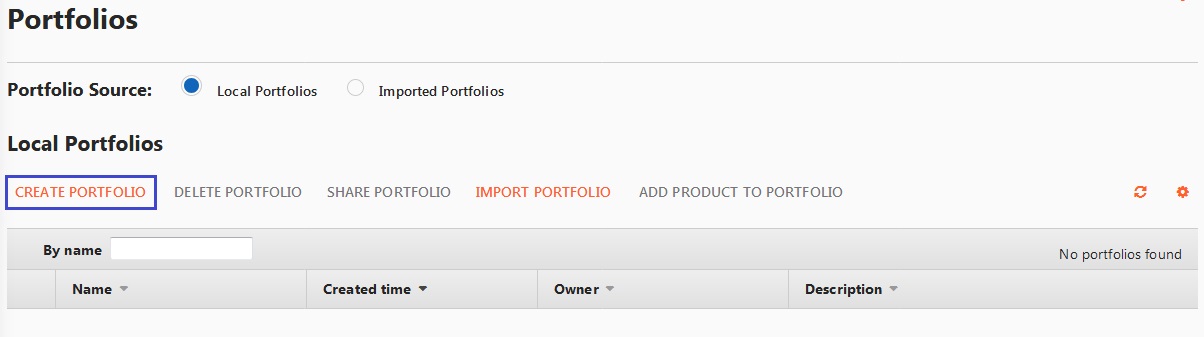
A. Create a portfolio for the image. Go to AWS Dashboard > Management Tools > Service Catalog > Portfolios list. Click on CREATE PORTFOLIO.
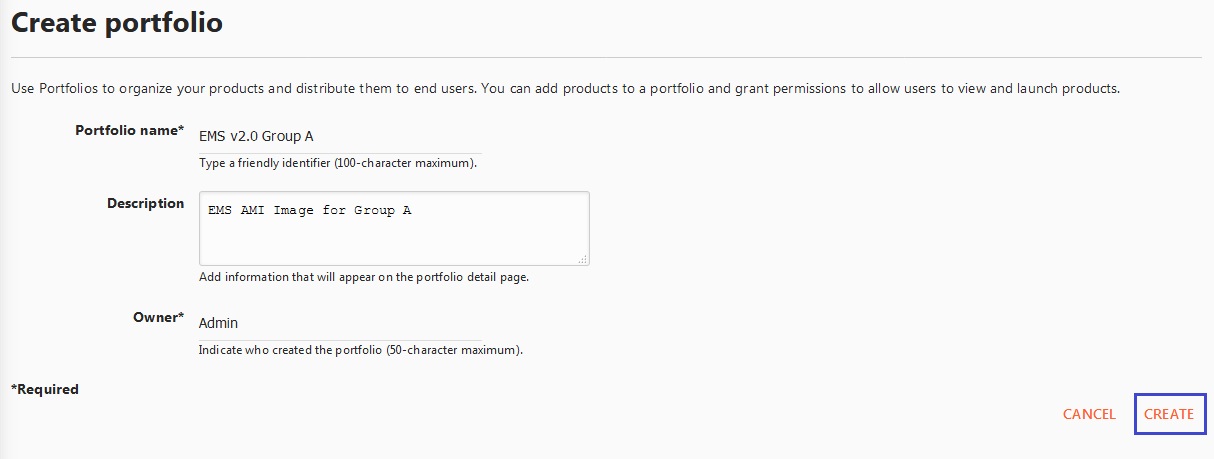
B. Add Portfolio details, click CREATE.
C. You can now see the portfolio made under Portfolios List.
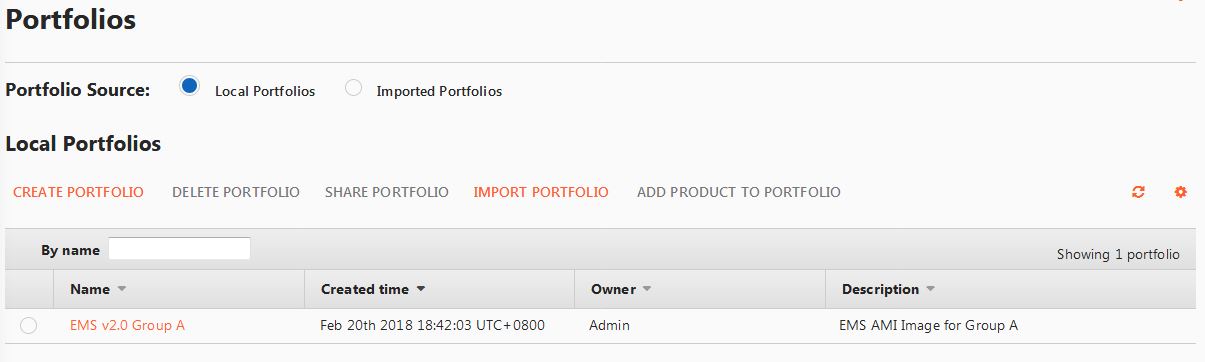
Step 3: Add EMS to Portfolio
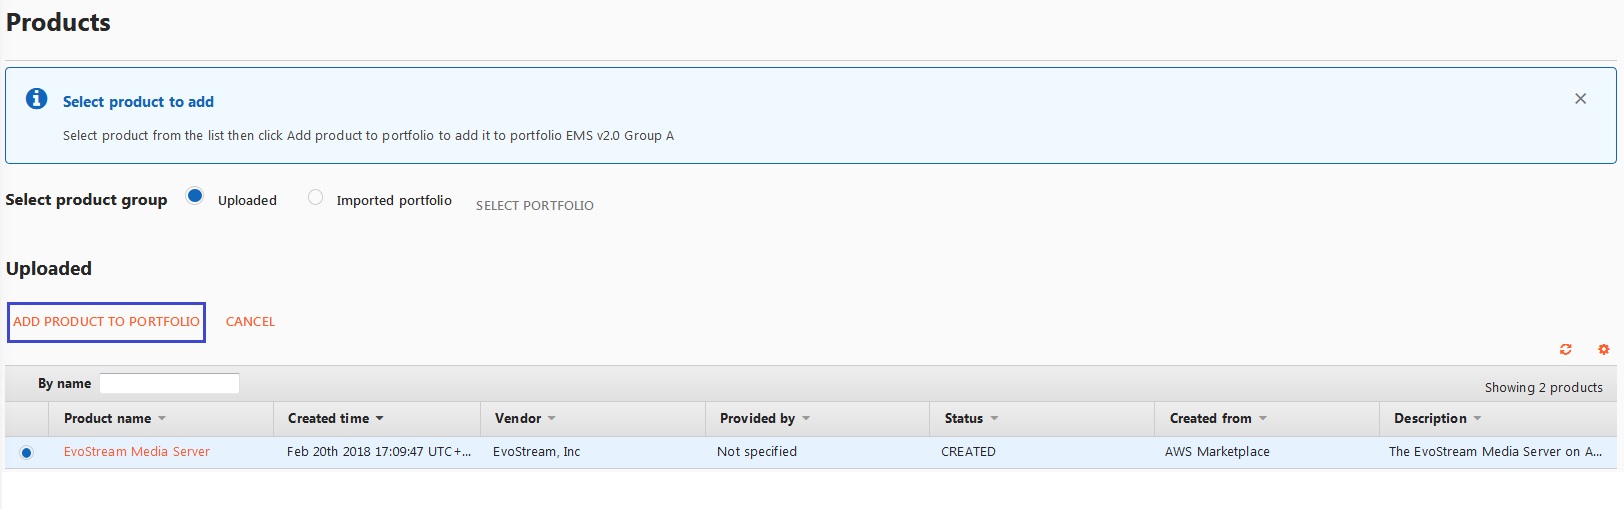
A. On the Portfolios List, click on the created portfolio. Click on ADD PRODUCT under Products

B. Select the EMS copied in Step 1. Click ADD PRODUCT TO PORTFOLIO
C. Add Constraints if applicable. See Amazon documentation about Constraints here
D. Add Users that can access the portfolio. If no users are added, the portfolio can only be accessed by Administrator
E. Add the consumer’s AWS Account ID where portfolio is being shared
F. Add Tags and TagOptions if needed
G. Click RETURN TO PORTFOLIO LIST when configuration is done
Notes:
- The configuration is saved already when returned to portfolios list.
- The users added in Step3-D can see and launch the EMS in the portfolio