Quick Start Guide for Amazon Web Services - Linux
Purpose
This document describes how to install and configure EvoStream Media Server software for Linux on Amazon Elastic Compute Cloud (Amazon EC2), an Amazon web service that provides resizable compute capacity in the cloud.
Amazon EC2 is a cloud-computing platform that virtualizes computing resources as virtual machines. A single virtual machine configuration is registered as an Amazon Machine Image (AMI). EvoStream provides an Amazon Linux AMI with a preconfigured version of EvoStream Media Server that is ready to start using the Amazon Web Services (AWS) Management Console. You can use this AMI to launch EMS for EC2 instances, paying for your running instance time and bandwidth consumption only while the instances are running. You can launch EMS instances in specific geographical locations that are closer to your audience to reduce latency and in multiple geographical locations to provide high levels of redundancy.
Getting Started
Pre-requisites
- Amazon Web Services Account
- Amazon EC2 Console Account
Free Trial
EMS offers a 30-day free trial use for first-time customers.
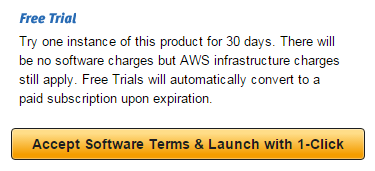
Note: There will be no software changes but the AWS infrastructure charges still apply.
Deployment
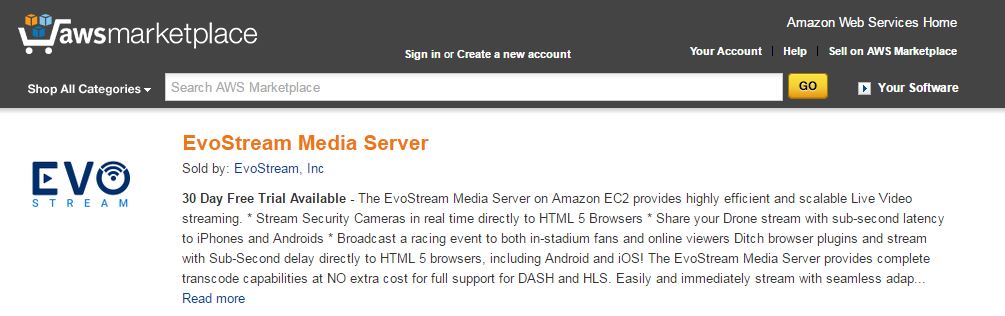
To get started with the EvoStream Media Server (EMS) on Amazon EC2 you will first need to purchase an EMS instance through the Amazon Web Services website: https://aws.amazon.com/marketplace
-
Search for the EvoStream Media Server in the AWS marketplace, or simply follow this link:
https://aws.amazon.com/marketplace/pp/B00VTR946Y
-
Click Continue and Sign in your AWS account

-
Select what type of EMS instance you will run: (1-Click Launch or Manual Launch)
- 1-Click Launch

The setup for the instance is made easy by the Amazon 1-click Launch utility and the EMS can be successfully deployed with all of the default settings.
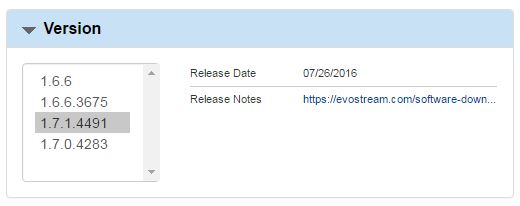
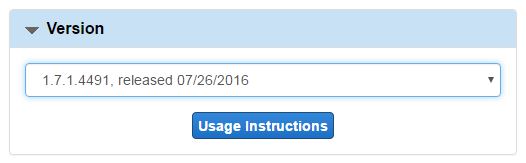
A. Select the Version of the EMS to be used
B. Select the Region and EC2 Instance Type (size of computer) for your deployment


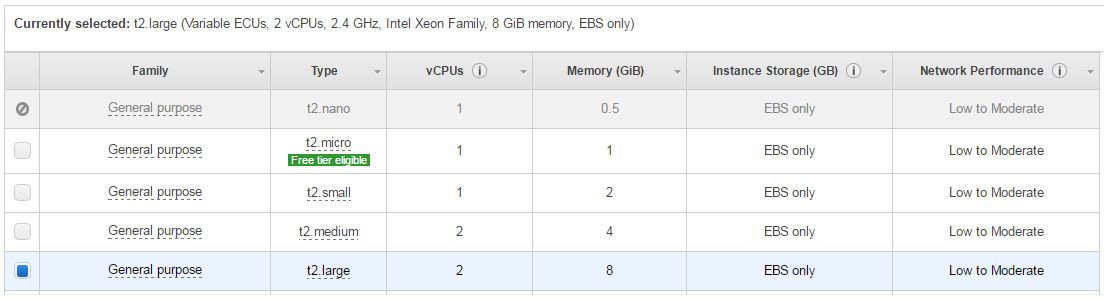
Note: The EMS can be run on very small computers, including Micro EC2 instances. The size of the instance should be a direct reflection of how much sustained traffic you expect to be hosting. In almost all scenarios you will run out of bandwidth prior to exhausting the CPU or memory limits of the virtual machine.
C. Select or create the VPC and Subnet to be used.

Note: See http://docs.aws.amazon.com/AmazonVPC/latest/UserGuide/VPC_Introduction.html for more information on VPC.
D. Choose a Security Group
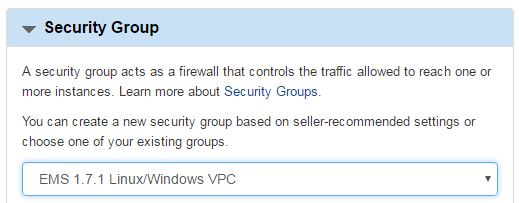
The default security group has been designed to provide outside access to all ports used for streaming. The ports are defined and used as follows:
| Port | Use |
|---|---|
| 1112 | Telnet for API (JSON) |
| 1113 | (Internal use only) |
| 1222 | Telnet for API (ASCII) |
| 1935 | RTMP |
| 1936 | (Internal use only) |
| 22 | SSH |
| 3389 | RDP |
| 4443 | RTMP |
| 5000 | (Reserved) |
| 5544 | RTSP |
| 5985 | (Reserved) |
| 6666 | Live FLV |
| 7777 | HTTP for API |
| 8080 | HTTP Requests |
| 8100 | JSON META |
| 8210 | WS JSON META |
| 8410 | WS FMP4 |
| 8888 | HTTP for EWS (EvoStream Web Server) |
| 9999 | MPEG TS |
These Security Settings can be changed but it will impact the accessibility of the streams on your server.
E. Choose or create a Key Pair
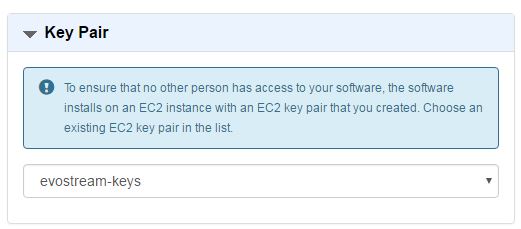
Either choose an existing key pair for instance access or create a new one for your account. If you choose an existing pair you MUST have the .pem file already downloaded from that pair. Amazon does not allow you to download key pairs a second time.
F. Review the settings created, click on Launch with 1-Click

- Manual Launch

Step 1: Choose AMI
A. Select the EMS version to be used
B. Click the Launch with EC2 Console of the chosen Region

Step 2: Choose Instance Type
You will now be redirected to the Launch Instance Wizard in Step 2. You may launch or with continue the configuration of the image.
C. Select the Instance Type to be used. You may Review and Launch the AMI or click Next to continue with the configuration
Step 3: Configure Instance Details
D. Configure the instance to suit your requirements. You may Review and Launch the AMI or click Next to continue with the configuration

Step 4: Add Storage
E. Add New Volume or you may Review and Launch the AMI or click Next to continue with the configuration

F. Add a tag for the instance or you may Review and Launch the AMI or click Next to continue with the configuration

G. Create or select the security group to be used then click Review and Launch

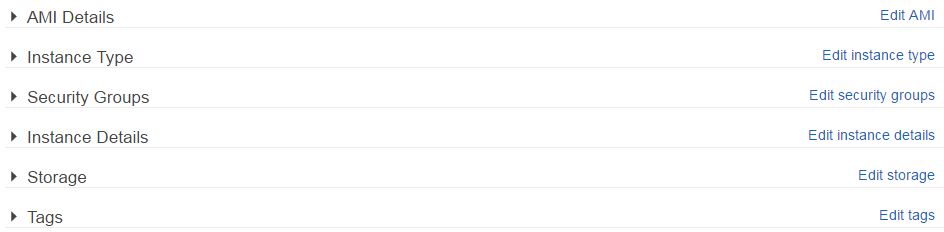
Step 7: Review and Launch
H. Review the configuration made, click Launch or go back to modify the changes
I. A window for the keys will prompt. Select an existing key pair or create or proceed without the key pair to be used. Click Launch instances

Note: You will find the instance created in Instances under Instances Menu
Connecting to EMS using Linux
Note: EMS is already running in Linux instance.
A. SSH via Terminal
Connecting to your new instance via SSH is exactly the same as connecting to any Linux EC2 computer. You will access it using the “ubuntu” user and use the .pem key you chose during Instance setup.
-
Locate the .pem (key file) in the terminal
-
Send command:
ssh –i ./<evostream-keys.pem> ubuntu@<public_IP>Note: Public IP can be found on the Amazon instances. See Determining Public IP.
test@ubuntu:~/Desktop$ ssh -i ./evostream-keys.pem ubuntu@52.91.237.115 The authenticity of host '52.91.237.115 (52.91.237.115)' can't be established. ECDSA key fingerprint is ae:02:ee:41:ff:38:96:ab:78:7b:3a:e6:09:ed:1f:4c. Are you sure you want to continue connecting (yes/no)? -
Input “yes”, press Enter
Welcome to Ubuntu 14.04.2 LTS (GNU/Linux 3.13.0-46-generic x86_64)

	Documentation:  https://help.ubuntu.com/
 System information as of Wed Jan 20 09:11:53 UTC 2016
 System load:  0.0               Processes:           106
 Usage of /:   13.9% of 7.74GB   Users logged in:     1
 Memory usage: 2%                IP address for eth0: 11.22.33.44.55
 Swap usage:   0%
 Graph this data and manage this system at:
   https://landscape.canonical.com/
 Get cloud support with Ubuntu Advantage Cloud Guest:
   http://www.ubuntu.com/business/services/cloud
B. Windows PuTTy
B.1. Pre-requisites
- PuTTY Generator
- PuTTY Secure Shell Client
B.2. Key File Conversion
EvoStream Media Server configuration can be accomplished using SSH and a client. Public AMI instances use a public/private key pair to log in instead of a password. The public key half of this pair is embedded in your instance, allowing you to use the private key half to log in securely without a password.
On Windows® operating systems, you can open a secure session to your Amazon EC2 instance by using the PuTTY Secure Shell client, which you can download from:
http://www.chiark.greenend.org.uk/~sgtatham/putty/download.html
The first thing you’ll need to do is convert the private key. The PuTTY Secure Shell client doesn’t natively support the private key format generated by Amazon EC2. Fortunately, PuTTY has a tool called PuTTYgen that you can use to convert your private key to the required PuTTY Private Key File (*.ppk) format. To convert the [key-pairname].pem file that you created to a [key-pair-name].ppk file, do the following:
-
Run PuTTY Key Generator
-
Click Load button

-
Select and open the .pem file that you want to convert in the Load private key window.
Note: You’ll need to select the All Files option in the File filter drop-down list to see PEM files in the file list.
-
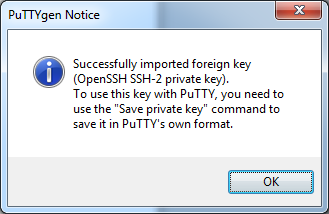
Click OK in the PuTTYgen Notice window
-
Click Save private key and save the file with the name [key-pair-name].ppk.
B.3. Connecting via SSH
-
Run PuTTY
-
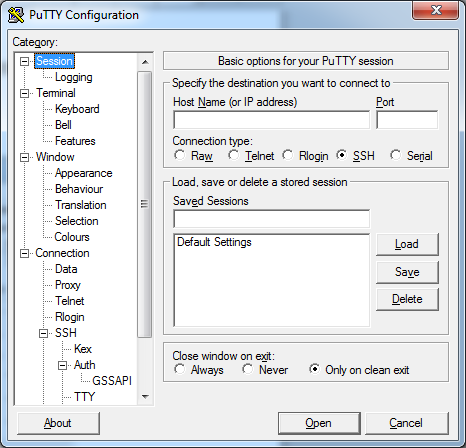
Select Session under the category tree
-
Specify the destination you want to connect to:
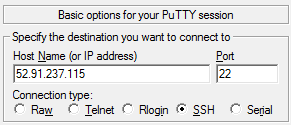
Host Name – the public IP address in Amazon EC2 instance running EvoStream Media Server
Port – 22 (default)
Connection type – SSH
-
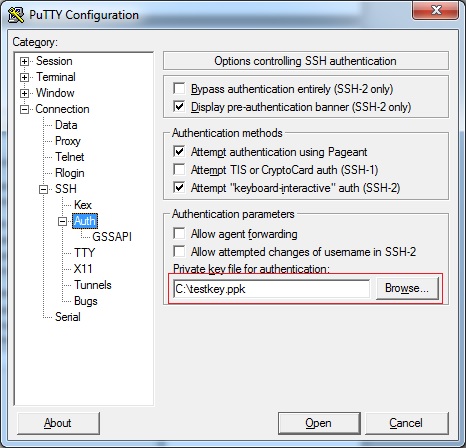
Select Auth under Connection > SSH in category tree
-
Click the Browse button to find and open the [key-pair-name].ppk file
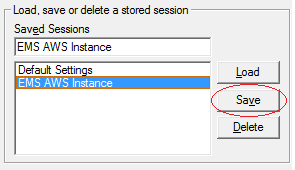
Note: If you will be opening this same session later, you can save it for future use
To save the session information:
On the Basic options for your PuTTY Session page, enter a name for the session in Saved Sessions, and then click the Save button
-
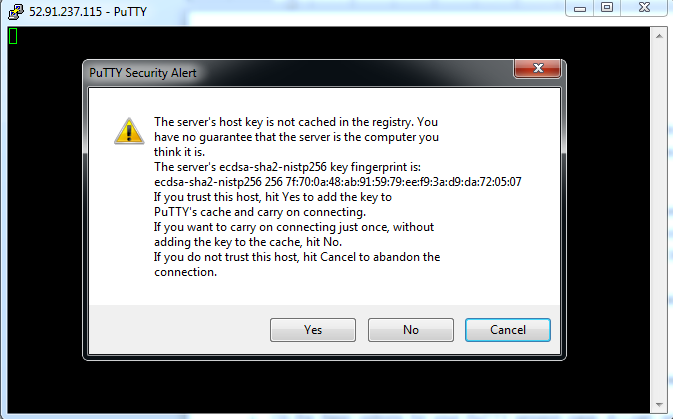
Click the Open button to open the secure SSH session. The first time you connect to your instance, you’ll get a PuTTY Security Alert that references the first use of [key-pair-name].pem
-
Click Yes to accept the security key
-
Logged in as “ubuntu”

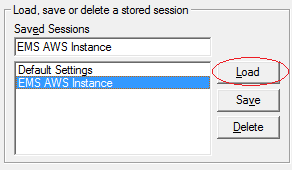
If you previously saved the SSH session information for this Amazon EC2 instance, do the following:
-
Run PuTTY
-
Select Session in the category tree
-
Select the Saved Session and then click the Load button
-
Click the Open button to open the secure SSH session.
Note: You should see the login as: prompt in the SSH client window. Enter “ubuntu” as the username

To end your SSH session, enter the exit command or press CTRL+D. You may have to do this twice if you’re logged-in as the root user.
C. EMS Web UI
While most work with the EMS happens at the command line or through the HTTP based API calls, the EMS does have a Web UI that can be used. To access the UI simply point your browser at the proper URL: http://<DomainOrPublicIP>:8888/EMS_Web_UI/index.php
< DomainOrPublicIP > will need to be replaced with the Public Domain or Public IP of your new EC2 Instance.
C.1. Determining Public IP
-
Sign in to https://console.aws.amazon.com
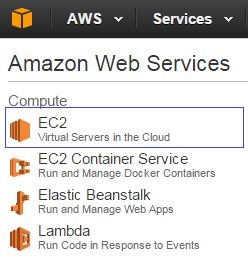
-
Click on the EC2 under compute
-
In the Navigation pane of the EC2 Management Console, under Instances, click Instances.
-
Select the running instance.
-
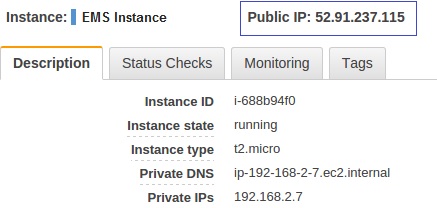
In the lower pane, click the Description tab. The Public DNS value is the public domain name of your running instance and the Instance ID is the instances instance ID.
C.2. Login for Web UI
The Web UI is protected by default when using the EMS on AWS. When accessing the Web UI you will be prompted for a username and password.

- Username: evostream
- Password: “Amazon Instance ID” - this will need to be obtained via your Amazon account.
Getting the Amazon Instance ID
- From Amazon Console
-
Sign in to https://console.aws.amazon.com
-
Click on the EC2 under compute
-
Click on Running Instances under Resources
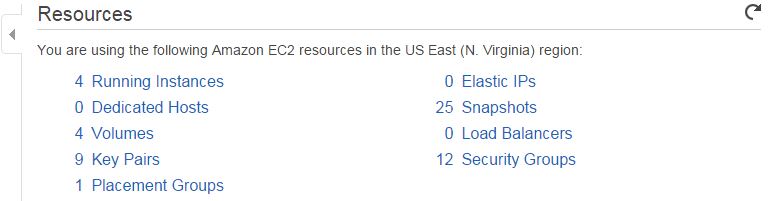
-
Click on the Instance Name provided for the EMS, and look for the Instance ID given. This will be your password.

- From Terminal
Enter command in the SSH terminal:
curl http://<Public_IP>/latest/meta-data/instance-id -w "\n"
Example:
curl http://52.91.237.115/latest/meta-data/instance-id -w "\n"
Sample Response:
i-013c03dc9bab9d69f
The instance ID of the running instance will be shown.
HTTP Based API
The above instructions gave you access to the EMS via the command line. For integration with the EMS at the software level, using the HTTP Based API is often much more useful. The full set of API’s available to you are found here: API Definition
For the EMS on AWS, the HTTP based API is exposed, but it requires authentication to be used. We call this Proxy Authentication. Basic Authentication is used and so just a username and password are required:
- Username: evostream
- Password: “Amazon Instance ID” - this will need to be obtained via your Amazon account as explained above.
Command will take this general format:
http://Username:Password@IPAddress:Port/apiproxy/CommandName?params=<base64EncodedString>
Sample Command:
http://evostream:i-013c03dc9bab9d69f@52.91.237.115:8888/apiproxy/version
Note: username is “evostream” and password is the “instance ID”
See http://docs.evostream.com/ems_user_guide/runtimeapi#http for more details.
EC2 Instance Termination
When you terminate an instance, you’ll lose all changes or files that you have on the server. If you have anything that you don’t want to lose, be sure to save it to Amazon Simple Storage Service (Amazon S3) before terminating the instance or you’ll lose your data.
After you’ve saved your data, do the following to terminate an instance:
- In the Navigation pane, under Instances, click Instances.
- Select the running instance(s) that you want to terminate.
- Click the Actions button, and then click Terminate. The Instance State column for the selected instance(s) will show shutting-down and then terminated.
Note: Amazon recommends that you confirm the machine reaches the terminated state before signing out. Charges will continue to accrue for instances that fail to shut down.